100 percent precision – efficient calibration and marking of laboratory glassware


The design and construction of specialized research tools and customized devices for accurate calibration of laboratory glass has a 30 year tradition at the Fraunhofer ISC. The focus is on calibration as well as the detection of production failures with 100 percent reliability and precision. Meet us at the German Pavilion on Arab Lab 2020 from 7 – 9 September, Booth 417.
The engineering skill of the Center of Device Development CeDeD with its close link to the expertise in materials science available at the Fraunhofer ISC started 30 years ago with calibration devices for the laboratory glass industry. Due to the need for economic calibration processes, the focus turned to speeding up reliably testing and measuring procedures and led to the development of many more innovative instruments and methods for testing, measuring and quality control. At present, overall demand is high for automated solutions. CeDeD can provide several automated or semi-automated solutions, within the glassware sector as well as in other precise production processes.
Computer-controlled calibration for best production rates
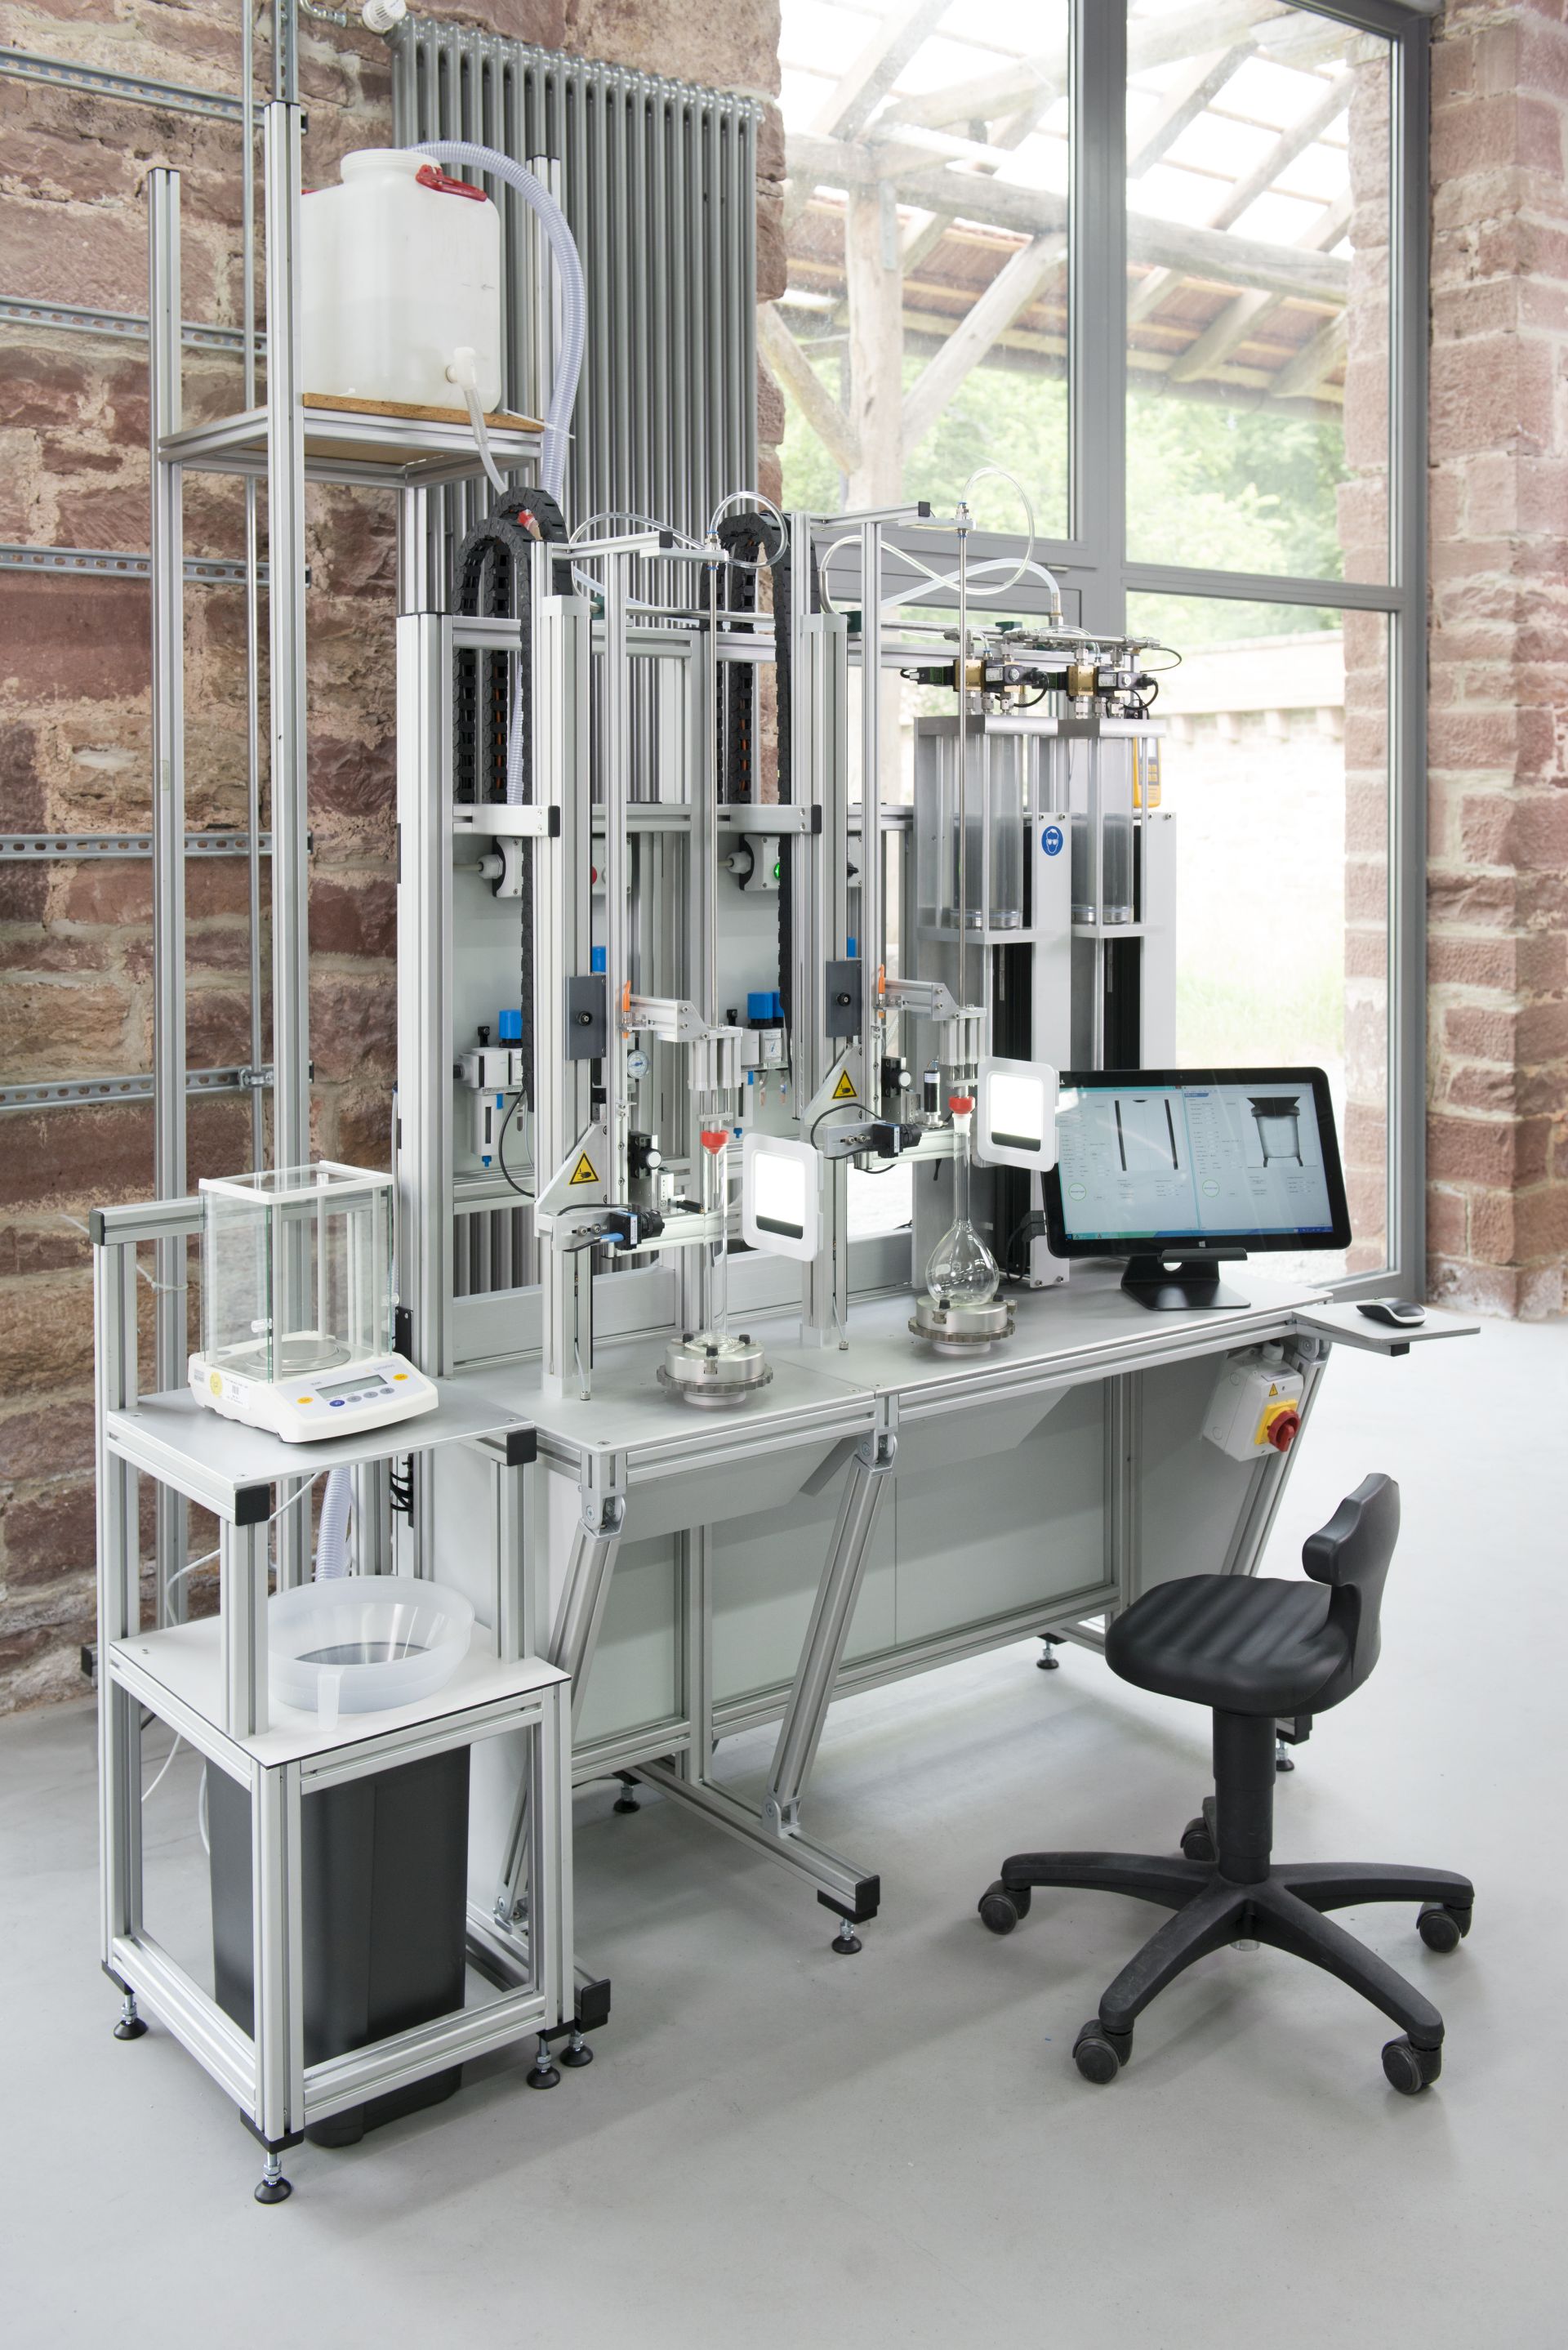
Adjusting laboratory glassware to the precise nominal volume was a manual procedure with several time-consuming steps. To improve both, time requirement and accuracy, CeDeD developed Aquajust-CAM as semi-automatic, computer-controlled unit for adjusting volumetric flasks and measuring cylinders. The adjusting medium is distilled or de-mineralized water. The operator loads a measuring flask or graduated cylinder onto the station and pushes a button to activate. A defined volume of water is filled into the volumetric vessel, and a high precision camera system automatically finds the meniscus and sets a mark. When a cycle is completed, the operator removes the adjusted flask or cylinder from the station. The next one is then loaded onto the station and the calibration process is repeated. The calibration unit marks a line or ring onto the glassware. The system is conceived for production purposes and can be modified to suit individual requirements. “Combined with the Marking Firing Device MFD presented last year at Arab Lab, the system can provide the ready-to-use calibrated and durable marked glassware with 100 percent precision”, explains Dr. Andreas Diegeler, head of CeDeD.
Automated Quality Check of Ceramic bearing balls
Ceramic ball bearings are the ultimate choice, whenever tribological requirements are high. Utmost precision and process reliability is a must in the manufacturing of all bearing components but especially so for the ceramic balls. In order to guarantee the required high quality of the end product, each ball has to be individually checked for shape accuracy and perfect surface quality.
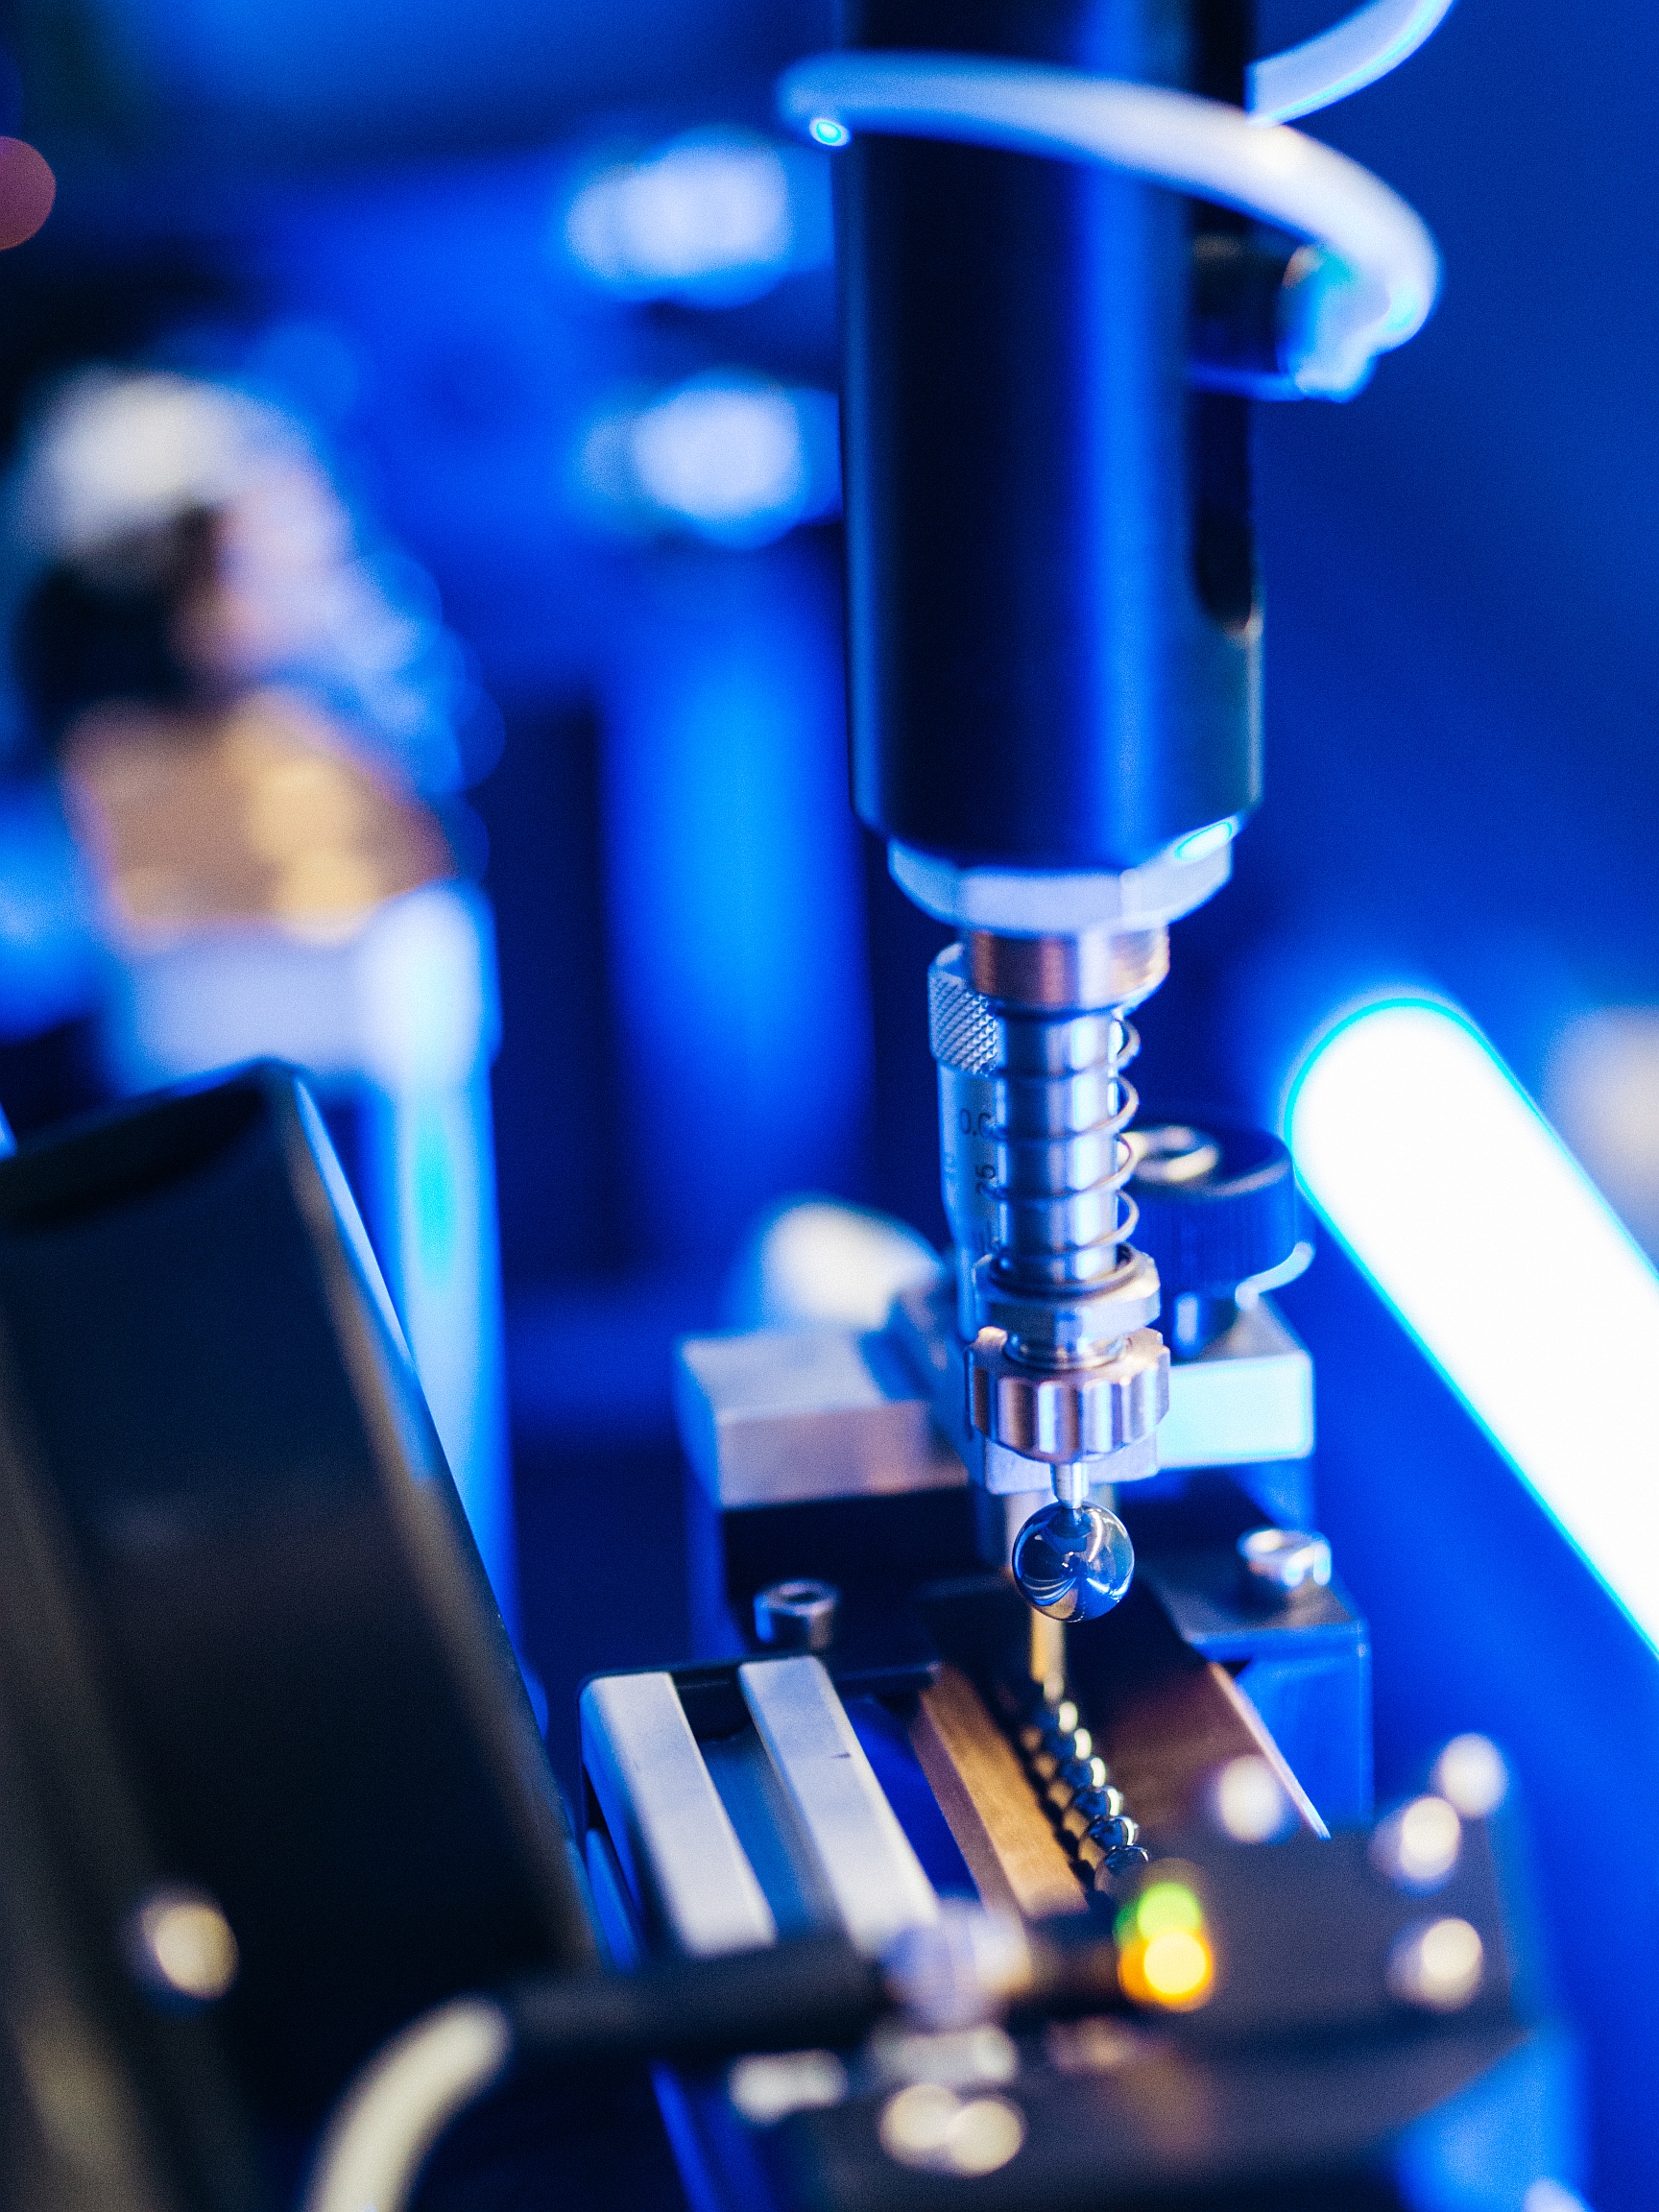
Contracted by one of the major manufacturers of ceramic ball bearings, CeDeD has developed and constructed a fully automated, robot-assisted ball-checking device with two measuring stations. Balls are continuously channeled into the device directly from production, checked for trueness to form and surface quality and sorted accordingly.
The three-dimensional checking of the balls is enabled by high-resolution cameras with a measuring accuracy of 0.3 µm. The automatic test routine will invariably detect any deviation from the pre-set standard values. Whenever the spherical form or surface quality of a ball falls out of tolerance, the ball is rejected and sorted out. This way, quality control becomes part of the production process with the additional benefit that possible malfunctions are noticed immediately.
“The fully automated ball checking device is another asset in the CeDeD portfolio of high precision, non-destructive optical inspection devices. It complements the range of calibrating, adjusting and measuring tools that are already well-established on the market”, concludes Diegeler.
Read more about CeDeD and AQUAJUSTcam.